How to Clean Hair Brushes: A Complete Guide
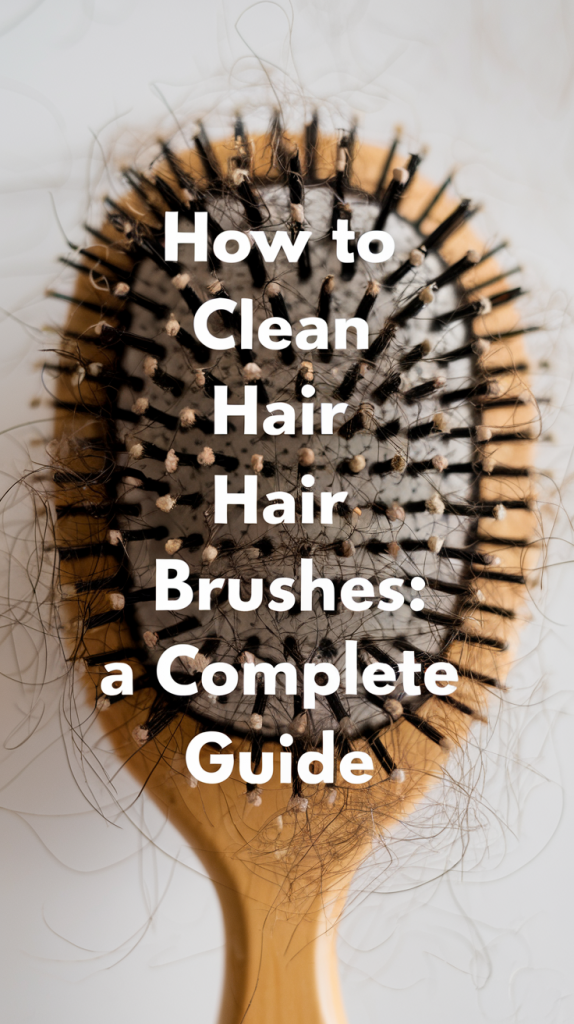
Keeping your hairbrush clean is more important than you might think. Over time, brushes collect hair, oils, product residue, and dust, which can transfer back onto your hair, leading to buildup and dullness. Cleaning your hairbrush regularly not only prolongs its lifespan but also ensures your hair remains healthy and shiny. Here’s everything you need to know about cleaning hairbrushes effectively and keeping them in top condition.

Why Cleaning Your Hairbrush Matters
Hairbrushes are like little sponges, soaking up oils, dirt, and product residue every time you use them. An unclean brush can:
- Reintroduce dirt and grease to your clean hair.
- Lead to scalp irritation or dandruff.
- Reduce the effectiveness of brushing and styling.
By cleaning your brushes regularly, you’re ensuring a healthier scalp and shinier hair, while also protecting your investment in high-quality tools.
How Often Should You Clean Your Hairbrush?
The frequency depends on your hair type and how much product you use:
- Heavy Product Users: If you use styling products daily, clean your brush weekly.
- Minimal Product Users: For those who rarely use products, cleaning every 2-3 weeks should suffice.
- Natural Oil Builders: If your hair gets oily quickly, aim for a bi-weekly cleaning schedule.
What You’ll Need to Clean Your Hairbrush
Before you start, gather these materials:
| Cleaning Supplies | Purpose |
|---|---|
| Warm water | To create the cleaning solution |
| Gentle shampoo or dish soap | To remove oils and residue |
| Baking soda (optional) | For deep cleaning and breaking down buildup |
| White vinegar (optional) | For disinfecting and eliminating bacteria |
| Old toothbrush | To scrub between bristles |
| Scissors | To cut through tangled hair |
| Comb or rat-tail comb | To remove trapped hair easily |
| Soft towel | For drying the brush |
Step-by-Step Guide to Cleaning Your Hairbrush
1. Remove Hair from the Brush
- Use your fingers or a comb to lift and pull out as much hair as possible.
- For stubborn tangles, carefully cut through the hair with scissors and remove it.
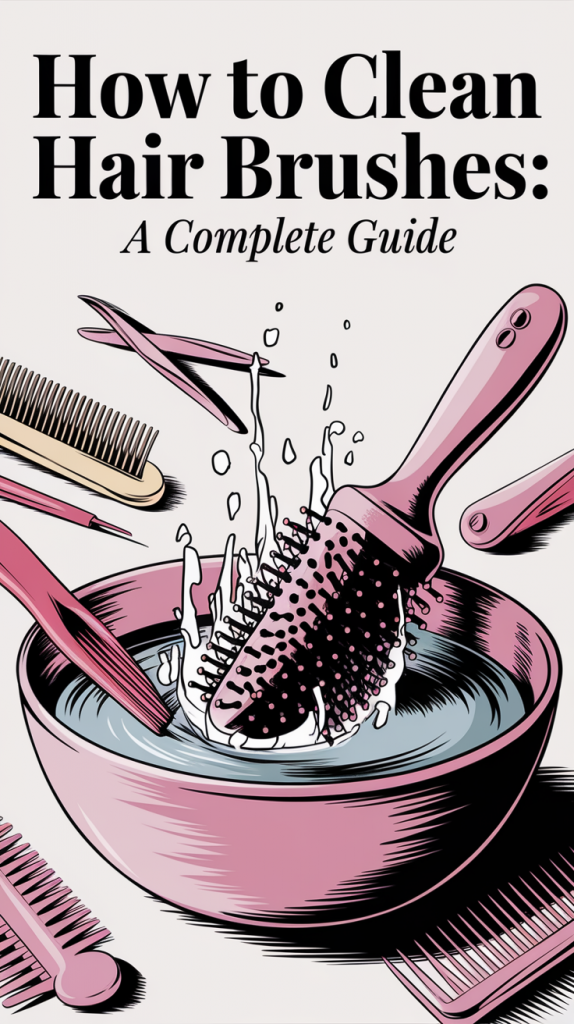
2. Prepare a Cleaning Solution
- Basic Cleaning: Mix a few drops of shampoo with warm water in a bowl.
- For Heavy Buildup: Add 1-2 teaspoons of baking soda for extra cleaning power.
- Disinfection Option: Add equal parts white vinegar to water to kill bacteria.

3. Soak and Scrub
| Brush Type | Soaking Instructions |
| Plastic Brushes | Fully submerge for 5-10 minutes |
| Wooden or Cushioned Brushes | Avoid soaking; clean with a damp toothbrush |
| Round or Vented Brushes | Submerge bristles only, ensuring vents are clean |
- Use an old toothbrush to clean between the bristles, paying attention to the base where buildup tends to accumulate.
- For vented brushes, ensure you clean inside the vents thoroughly.
4. Rinse and Dry
- Rinse the brush under running water to remove soap and residue.
- For wooden or cushioned brushes, use a damp cloth to wipe clean.
- Dry the brush by placing it bristle-side down on a clean towel. Allow it to air dry completely before using it again.
Special Tips for Different Brush Types
- Boar Bristle Brushes: Use a mild shampoo and avoid soaking to preserve the natural bristles.
- Thermal or Metal Brushes: Ensure thorough cleaning of vents and avoid prolonged soaking to prevent rust.
- Round Brushes: Use a comb or toothbrush to clean hard-to-reach areas.
- Paddle Brushes: Clean the edges and corners carefully to avoid leaving residue.
Preventive Maintenance for Your Hairbrush
| Maintenance Tip | Benefits |
| Remove hair after each use | Prevents buildup and makes cleaning easier |
| Store brushes in a clean, dry place | Reduces exposure to dust and bacteria |
| Avoid using dirty brushes on clean hair | Maintains hair hygiene and scalp health |
Eco-Friendly Cleaning Alternatives
If you’re looking for environmentally friendly options, try these:
- Use castile soap instead of traditional shampoo.
- Replace baking soda with a natural scrub like salt.
- Opt for vinegar as a natural disinfectant.
When to Replace Your Hairbrush
Even with regular cleaning, brushes don’t last forever. Replace your brush if:
- The bristles are frayed or bent.
- The cushion or base is damaged.
- It’s lost its ability to style effectively.
FAQs
1. Why does my hairbrush still look dirty after cleaning?
Residual product buildup may require multiple cleanings. Use baking soda for deeper cleaning or replace old brushes that have become too worn.
2. Can I use vinegar to clean my hairbrush?
Yes! Mix equal parts vinegar and water to disinfect and remove buildup naturally.
3. How do I clean a cushioned brush?
Dip only the bristles into soapy water to avoid water damage to the cushion.
4. Can I clean my hairbrush in the dishwasher?
Some plastic brushes are dishwasher-safe, but always check the manufacturer’s instructions first.
5. What’s the best way to clean lint from my brush?
Use a toothbrush or tweezers to remove lint, then wash as usual.
6. How often should I replace my hairbrush?
Replace your brush every 6-12 months, depending on wear and tear.
Conclusion
Regularly cleaning your hairbrush ensures better hair health, improved styling, and a cleaner scalp. With these steps, you’ll keep your brushes in perfect condition and enjoy healthier hair every day. Have you cleaned your hairbrush lately? Let me know your go-to cleaning tips below!

